Delicatessan
Well-Known Member
Even for simple tasks, we need how to’s and go by’s. What is easy for one might be hard for another.
Over the years, I’ve seen several people ask about changing headlamp bulbs. Generally, people can’t figure out how to get the housing out. I just replaced my bulb and took photos to hopefully put this one to bed once and for all. (I’m sure my description will receive numerous criticism and corrections from the peanut gallery).
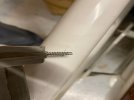
First step is to unscrew three screws. They are located here:
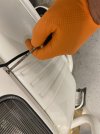
here:
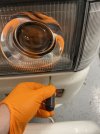
and here:
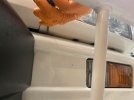
This is where everyone screws this up. You can make any of the following three errors pretty easily:
1) not seeing the two screws on the front in that little crack.
2) trying to unscrew the WRONG screws on the front. You can also see the headlamp tilt adjustment screws. Don’t mess with those right now.
3) thinking those front screws come all the way out. They don’t. They stay in the trim piece, even when fully loosened. Only the side screw comes all the way off.
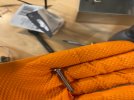
To help grasp that, here‘s what the trim piece looks like:
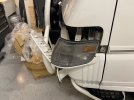
See how the screw is still in the trim piece even though it is separated from the vehicle?
To remove the trim piece, GENTLY grab from the side on the headlamp where it flares out. Pull. It should come out pretty easily at that point.
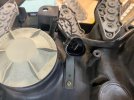
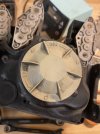
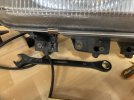
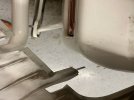
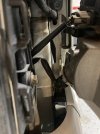
Once done, you can access the 10mm bolts that hold in the headlamp. There are three, located here, here, and here:
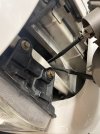
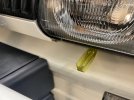
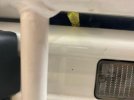
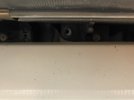
(The first two are obvious. Shown in first photo. The last several photos are all trying to help you spot the last/third bolt that you must loosen off.
After removal:
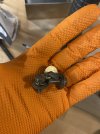
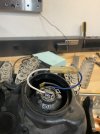
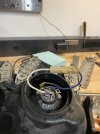
Now the headlamp is loose, but you are not done. Don’t screw this next step up and damage your wiring. Disconnect the wIring from the vehicle to the headlamp. It is a simple push in/pull apart connector. You;‘re disconnecting this:
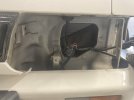
From this:
Over the years, I’ve seen several people ask about changing headlamp bulbs. Generally, people can’t figure out how to get the housing out. I just replaced my bulb and took photos to hopefully put this one to bed once and for all. (I’m sure my description will receive numerous criticism and corrections from the peanut gallery).
First step is to unscrew three screws. They are located here:

here:

and here:

This is where everyone screws this up. You can make any of the following three errors pretty easily:
1) not seeing the two screws on the front in that little crack.
2) trying to unscrew the WRONG screws on the front. You can also see the headlamp tilt adjustment screws. Don’t mess with those right now.
3) thinking those front screws come all the way out. They don’t. They stay in the trim piece, even when fully loosened. Only the side screw comes all the way off.
To help grasp that, here‘s what the trim piece looks like:

See how the screw is still in the trim piece even though it is separated from the vehicle?
To remove the trim piece, GENTLY grab from the side on the headlamp where it flares out. Pull. It should come out pretty easily at that point.
Once done, you can access the 10mm bolts that hold in the headlamp. There are three, located here, here, and here:


(The first two are obvious. Shown in first photo. The last several photos are all trying to help you spot the last/third bolt that you must loosen off.
After removal:

Now the headlamp is loose, but you are not done. Don’t screw this next step up and damage your wiring. Disconnect the wIring from the vehicle to the headlamp. It is a simple push in/pull apart connector. You;‘re disconnecting this:

From this:

