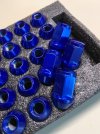
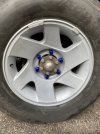
@moonpost Looks great! I've been thinking about doing mine, and it's helpful to hear of your experience. Those lug nuts are pretty! I also wondered about how bare metal might look. I wonder if my Dremel would be up to the job, with its various abrasive attachments.
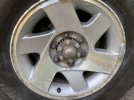
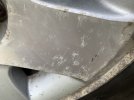
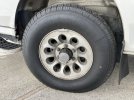
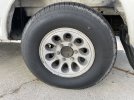
By the way, I'm not one for tire-shining (used long ago when I was a teenager, and it always wore off so fast). But I had a bit of extra TriNova Plastic & Trim restorer on my sponge one day, and just for kicks went round the tires. So many months later (including winter/rainy driving), the tires still look far nicer (my father even thought I'd bought new ones)! You can see in the second where I didn't quite go round everything, and there's still a difference
")