markodile
Member
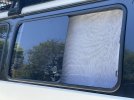
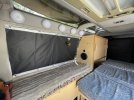
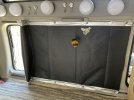
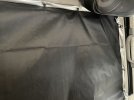
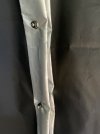
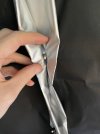
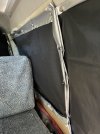
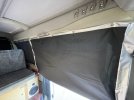
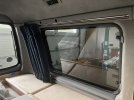
We made some curtains for privacy when camping. [photo 1 below] My wife sewed them, and we used a simple buttonhole system to hang them. With this approach the curtains fold up very compactly (for storage) as there are no clips. And I can put up all four curtains in under two minutes. We have buttonholes on top and bottom edges, and button them top and bottom except for the one over the door, which has no lower slider track.
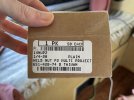
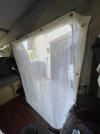
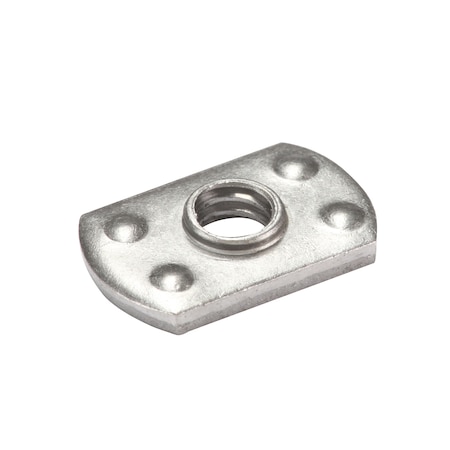
The buttonholes simply fit over the heads of machine screws mounted in the curtain tracks. These serve as the buttons. [2] I used 1/4-20 weld nuts in the tracks to mount the screws/buttons. [3] They are inexpensive and fit really well – just loose enough to slide easily. I got mine some years ago from Rockler.com, but couldn’t find them there today. But you can find them easily; search Amazon, or Zoro [4] where you can get 50 for $6.51, for example. Note that I am tightening the screws enough to hold them in place. If left loose the screws would likely rattle out.
The ones that fit my 1992 Exceed are 1/4-20 weld nuts that measure 1/2-inch wide by 13/16-inch long. I suppose they are pretty standard. The screws I used are 1/4-20 threaded (obviously), 1/2-inch long (threaded length), and the heads are about 9/16-inch diameter.
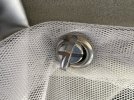
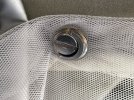
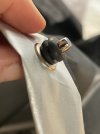
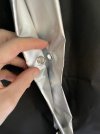
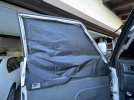
For the right-most “button” for the curtain over the sliding door I used a thumb screw [5, 6] so I can easily loosen it and slide, and lock, the curtain open when I’m going in and out. Without a screwdriver.
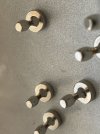
I realized you can mount a lot of things in the tracks using 1/4-20 weld nuts [7, 8, 9]. In top left of [7] you can see the nuts and screws I used. In [8] I show a large eye-bolt… probably too large, but maybe useful? For an inexpensive slider you could just bend a loop in a piece of wire, then bend out the tail ends on the backside [9] to hold it in place; not lockable, but might be useful if you want your curtains to slide.


The buttonholes simply fit over the heads of machine screws mounted in the curtain tracks. These serve as the buttons. [2] I used 1/4-20 weld nuts in the tracks to mount the screws/buttons. [3] They are inexpensive and fit really well – just loose enough to slide easily. I got mine some years ago from Rockler.com, but couldn’t find them there today. But you can find them easily; search Amazon, or Zoro [4] where you can get 50 for $6.51, for example. Note that I am tightening the screws enough to hold them in place. If left loose the screws would likely rattle out.
The ones that fit my 1992 Exceed are 1/4-20 weld nuts that measure 1/2-inch wide by 13/16-inch long. I suppose they are pretty standard. The screws I used are 1/4-20 threaded (obviously), 1/2-inch long (threaded length), and the heads are about 9/16-inch diameter.
For the right-most “button” for the curtain over the sliding door I used a thumb screw [5, 6] so I can easily loosen it and slide, and lock, the curtain open when I’m going in and out. Without a screwdriver.
I realized you can mount a lot of things in the tracks using 1/4-20 weld nuts [7, 8, 9]. In top left of [7] you can see the nuts and screws I used. In [8] I show a large eye-bolt… probably too large, but maybe useful? For an inexpensive slider you could just bend a loop in a piece of wire, then bend out the tail ends on the backside [9] to hold it in place; not lockable, but might be useful if you want your curtains to slide.
Last edited:


")