SlowLane
Member
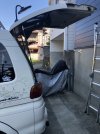
The age of my rear hatch shocks combined with the weight of a Terzo latter had me using a 2x4 to hold up the hatch.
Bought a cheap set of replacements from China that were more useless than the originals.
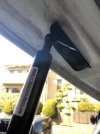
Installed a set of 32” 250# shocks from Lifts Support Depot and couldn’t be happier. These things will give a small child a fun ride if they open the rear door up. I went with 32” extended which is probably a few inches over stock. I am 6’1” and it requires me to fully extend to grab the gate. Love the extra clearance, no binding or issues shutting.
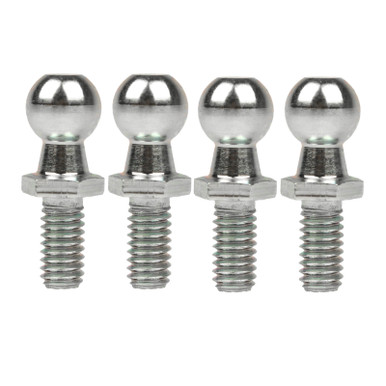
Customer service was great, had them swap the ends for 10mm without any question, fast shipping and quick response.
Here is a link to the ones I got
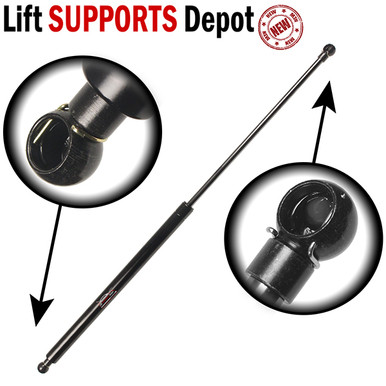
 www.liftsupportsdepot.com
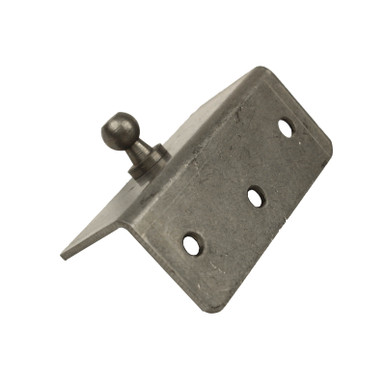
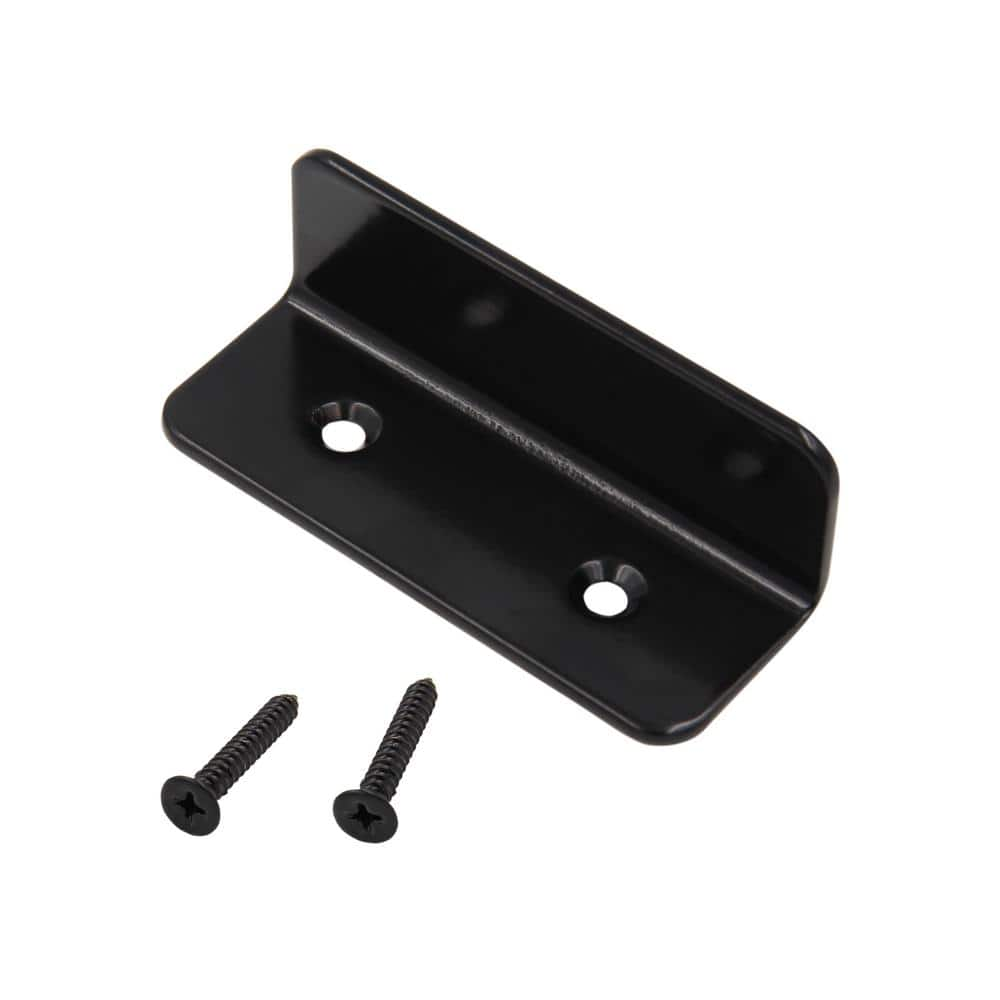
Does not come with the mounting hardware
Bought a cheap set of replacements from China that were more useless than the originals.
Installed a set of 32” 250# shocks from Lifts Support Depot and couldn’t be happier. These things will give a small child a fun ride if they open the rear door up. I went with 32” extended which is probably a few inches over stock. I am 6’1” and it requires me to fully extend to grab the gate. Love the extra clearance, no binding or issues shutting.
Customer service was great, had them swap the ends for 10mm without any question, fast shipping and quick response.
Here is a link to the ones I got
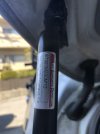
32.00 Inch Lift Supports Depot ST320M250 Lift Support With Ball Socket Long Cup | ST320M250-W
Our Lift Supports Depot ST320M250 fits a wide variety of vehicles and includes a 1 year warranty. $6.99 Express Shipping on qualifying orders $29.00 and over.
www.liftsupportsdepot.com
Does not come with the mounting hardware
")